Backing up your Mac is essential to protect your data in case of a storage drive failure, theft, or other mishaps.
We will discuss a few different ways to back up your Mac in detail in this article.
How to Backup in Mac?
Here are the best 5 ways to back up your MacBook.
1) Use the Time Machine
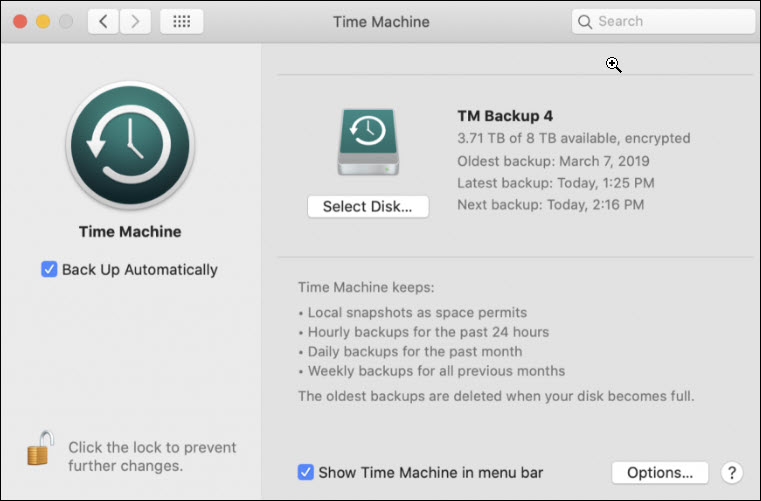
Time Machine is the in-built backup feature of Mac. It automatically backs up all your personal data, including photos, emails, documents, apps, and music.
To back up using Time Machine, you will need a storage device. First, connect the storage device to your Mac, like a USB or Thunderbolt drive.
Ensure the backup disk is twice the storage capacity of the disk you want to back up.
Now follow these steps to backup using Time Machine:
- Go to Time Machine Settings. For Mac Ventura or a later version, click the Apple Menu and go to System Settings.
- Next, click on the General tab and select Time Machine.
- For the earlier versions of Mac, click on the Apple Menu > System Preferences > Time Machine.
- Select the external storage device from the Time Machine Settings as the backup destination.
- For Mac Ventura or a later version, click on the add button and follow the onscreen instructions to backup.
- For the earlier Mac versions, select the Backup disk and follow the instructions given online.
- After selecting the storage device, Time Machine will automatically start making periodic backups.
The Time Machine is designed to make hourly backups for the last 24 hours, per-day backups for the last month, & weekly backups for previous months.
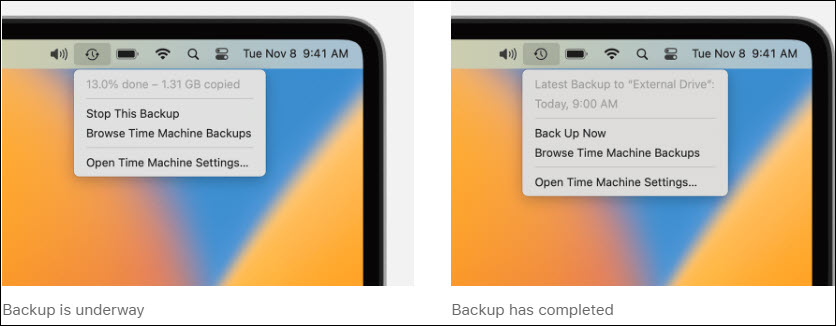
Select Back Up Now from the Time Machine Menu if you don’t want to wait for the next automatic backup.
- If the external disk contains Time Machine backups from a different MacBook, you may choose to start a new backup or claim the existing backup.
2) Backup Using iCloud
You can share all the documents and Desktop folders in iCloud Drive. This will allow you to access all the files from your Mac on all your devices.
This means you can save a document on your desktop and work on it later from any device like iPhone or iPad and on iCloud.com. Whatever changes you make will be updated everywhere.
Before you proceed to back up to iCloud from your Mac, set up iCloud on your Mac.
Follow the steps to set up iCloud on Mac:
- First, make sure you are using the latest version of Mac.
- To do so, click on the Apple Menu >Settings > General > Software Update.

- Next, sign in to iCloud. To do so, go to the Apple Menu and select System Preferences > iCloud.
- Check the box next to iCloud. Select the Options button.
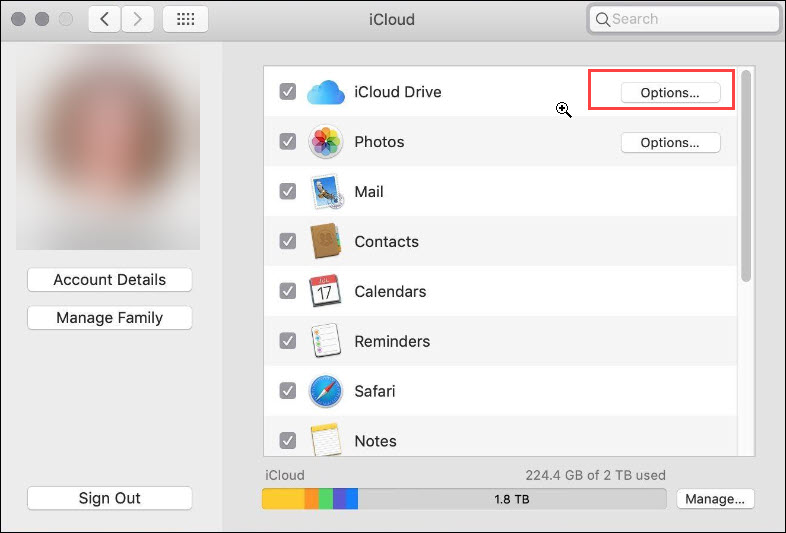
- Select what you want to store in iCloud, like your Desktop folder, documents, and System Preferences. Click Done.
- Now Open Finder.
- Go to the iCloud drive folder.
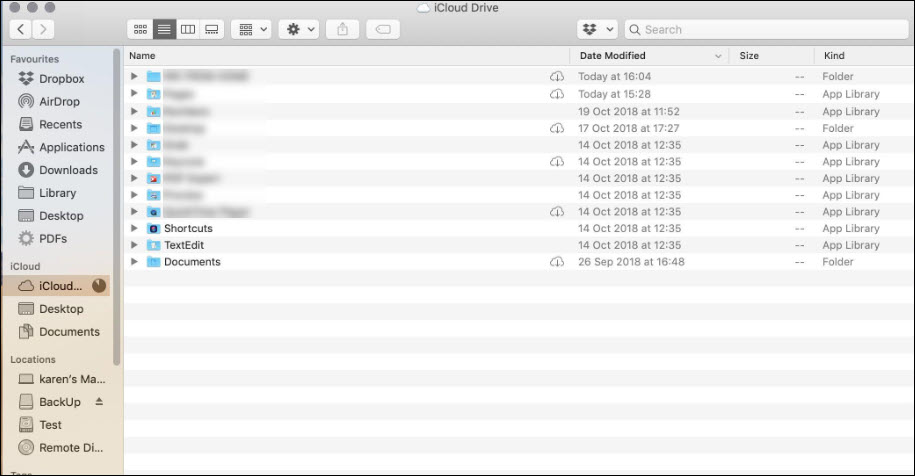
- You can open another Finder window to locate the files, folders or data that is not based in the cloud.
- Now you are ready to copy the data on iCloud.
3) Back up to One Drive, Google Drive, or Dropbox
You can back up your Mac folders to Google Drive, One Drive, or Dropbox. If you want to use the Google Drive web app, then follow these steps:
- Log in to your Google Drive from your web browser.
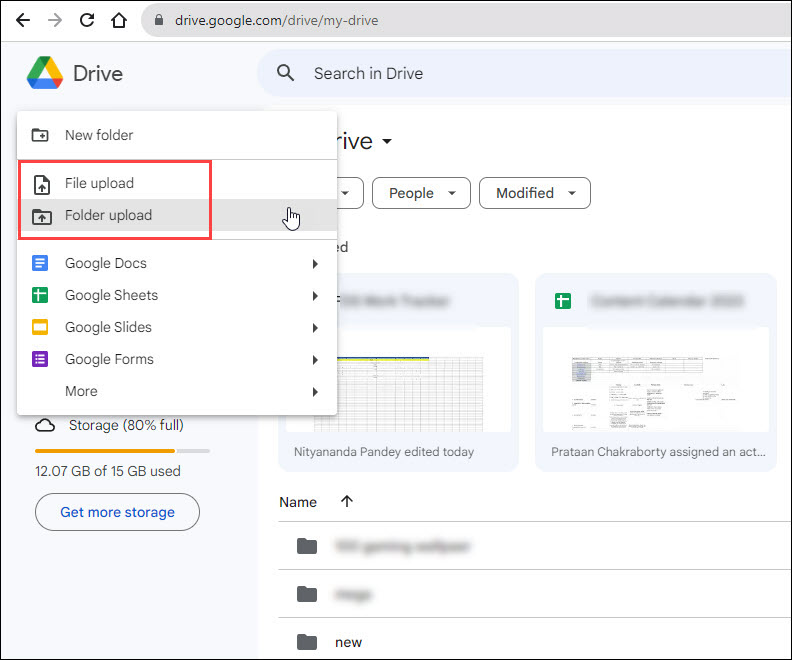
- Click on the + New icon from the top left corner. To upload a file from your Mac, click on the File Upload option. To upload a folder, select the Folder upload option.
- You can also drag & drop the files to Google Drive. For that, create a folder, name it, and then drop it into it.
This will make it more convenient to access the said folder easily. Make sure you have a stable internet connection when uploading to Google Drive.
4) Use Other Cloud Services to Backup Your Data
Many cloud services are available online to back up valuable data over the web.
These dedicated backup services provide you with remote backup.
If you lose your MacBook or it gets destroyed, you can easily access and restore all your data from these cloud services.
5) Clone Your MacBook
You can also clone your MacBook to keep all the data safe. This cloning process is a bit different from the Time Machine Backup.
Right now, recovering Mac from a clone is a bit difficult. Apple separates the startup volume in two. Separating the data from the system volume.
This System volume is read-only and is now a sealed volume. So, it will become invalidated if the seal is broken.
Some backup software developers have tried workarounds to fix this issue, but it is not a reliable way to back up your Mac. However, you can still back up the data volume. To do so, use Disk Utility to copy the Data Volume to backup to a drive
The process to clone your Mac:
- Connect the external storage to your Mac.
- Open Disk Utility & select the External Drive.
- Click on the Erase option and go to the Format Option. Again, select the MacOS > Erase option.
- Next, open the Cloning software.
- Copy the folder you want to back up and follow the onscreen instructions provided.
- If asked, enter your password and confirm that you are ready to erase anything on the external hard drive.
- Wait till the cloning process finishes.
Frequently Asked Questions [FAQs]
1. How can I find out if my iPhone is backed up on your Mac?
To find out if your iPhone is backed up in iCloud, go to Apple Menu. Choose System Settings > Click on your name > iCloud and check.
2. How do I back up my Mac immediately?
You can use a Time machine to back up your data on Mac anytime, even if you haven’t selected the Automatic option in the Time Machine settings.
3. How long does it take to back up in Mac?
The first backup on Mac can take several hours as the Time Machine backs up the entire system on your Mac. But after that, the backup process becomes much faster.
Wrapping Up
The process you choose to back up your Mac will depend on your personal needs and preferences.
Let us know if you face any difficulty performing the above steps. We are always eager to hear from you.